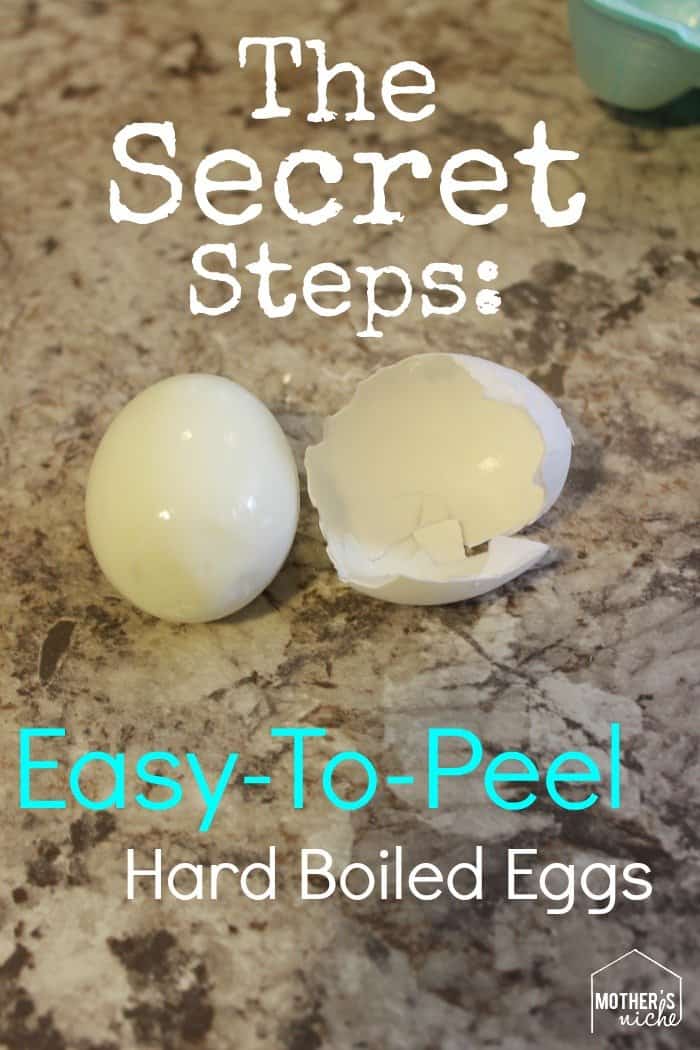
Peeling hard-boiled eggs can be extremely frustrating — frustrating for your kids when they want a quick, easy snack, and frustrating for you when you’re making deviled eggs or hors d'oeuvres that need to look presentable!

©MomsWhoThink / Ashley Haugen
Well now you can take that frustration and throw it out the window because below are 3 easy steps for an easy peel!
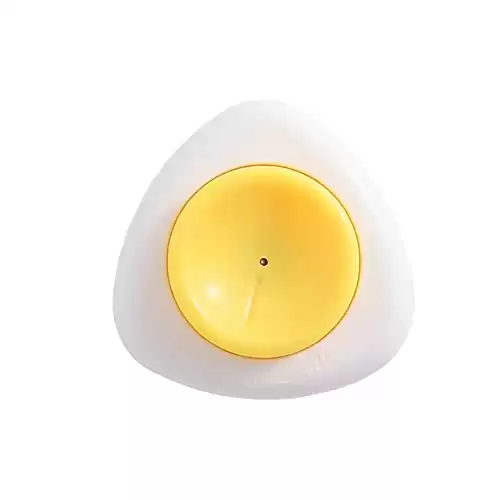
- By making a small hole before boiling the egg, you can peel off the shell easily.
- Magnetic back base makes it attachable on the surface of refrigerator.
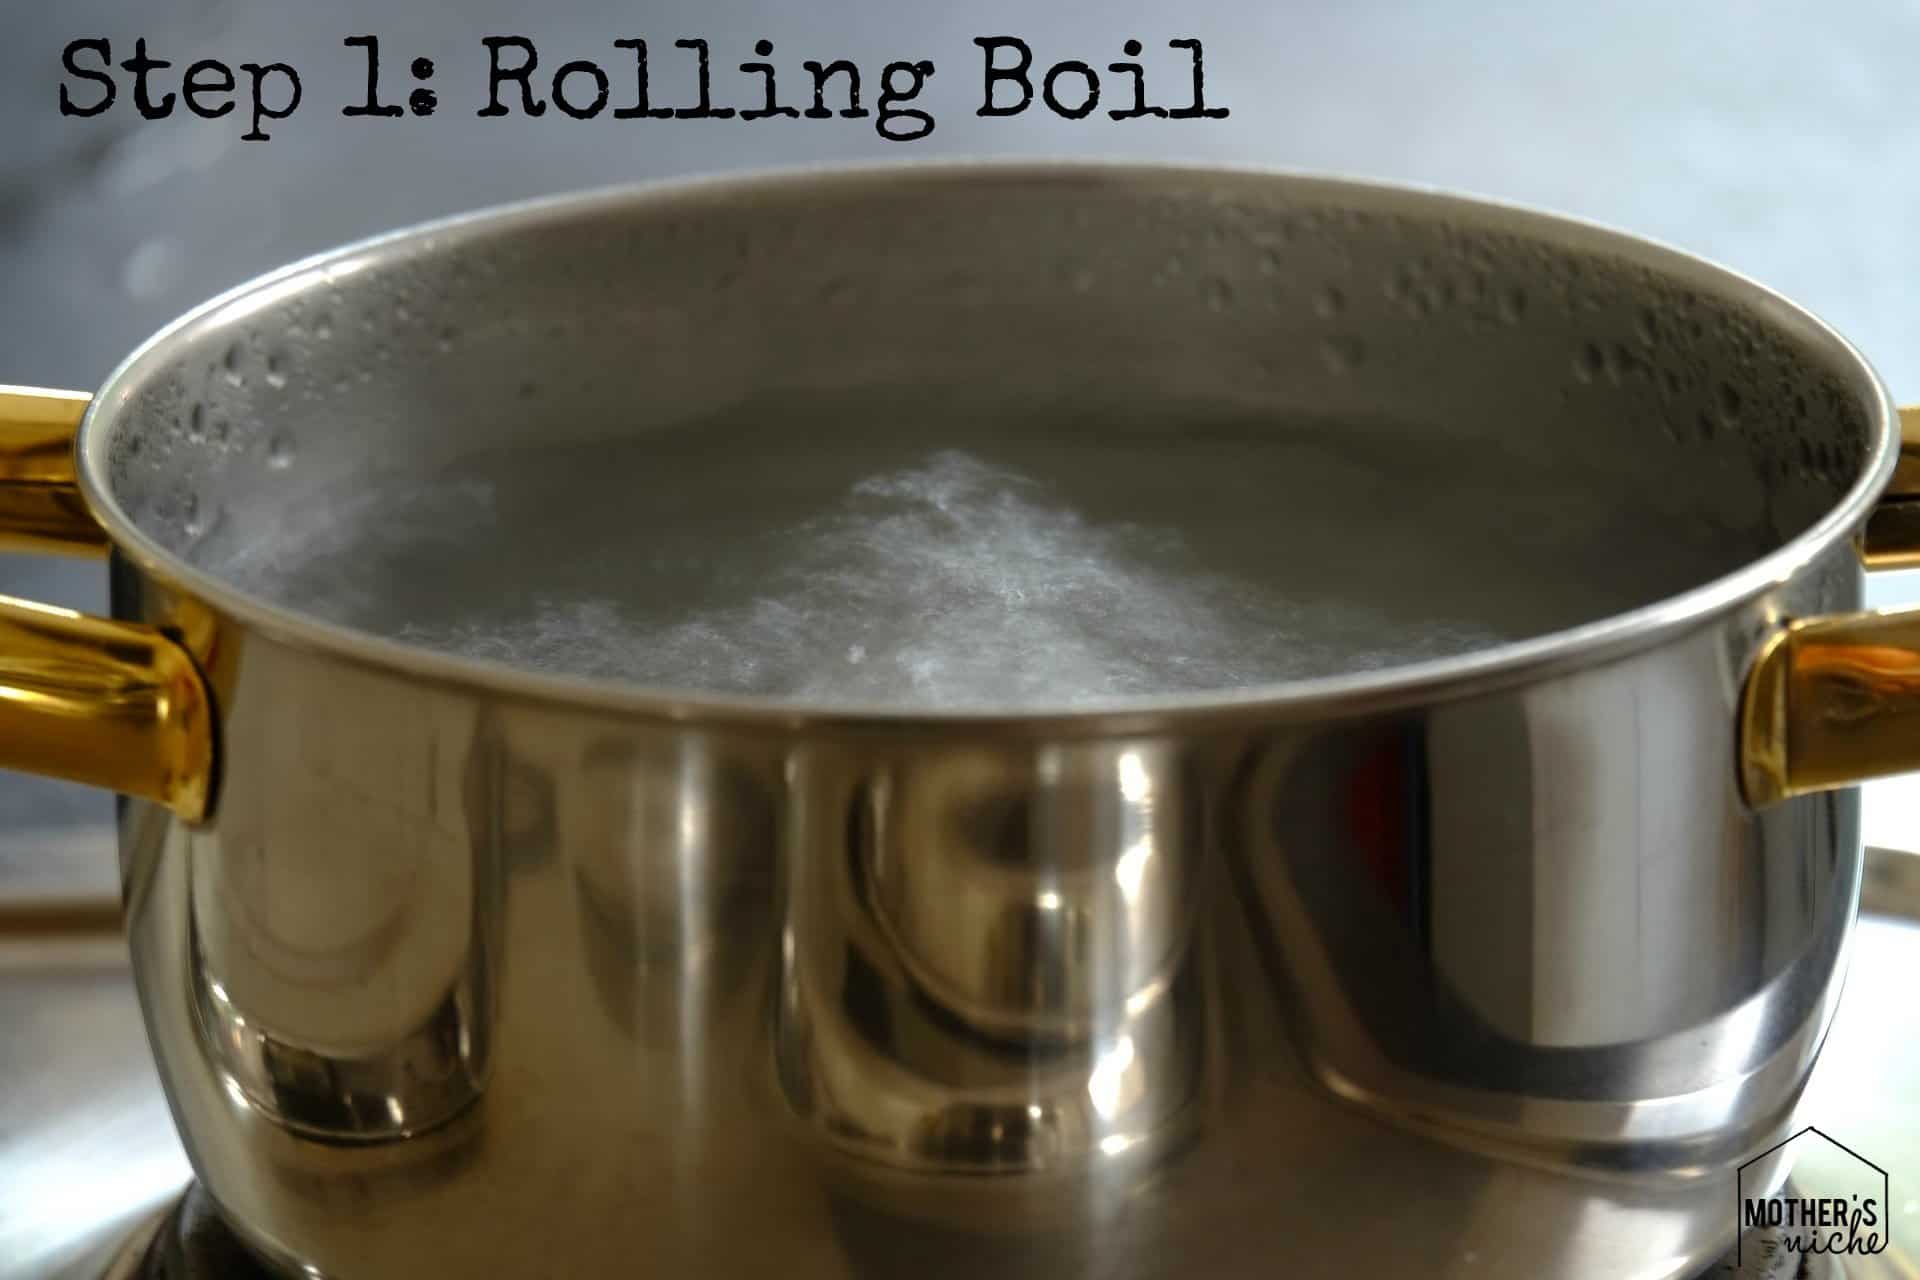
Step 1: This is probably the most important step. Despite what you may or may not have read, experimentation proves that the only way to start your hard-boiled eggs is in water that’s already a rolling boil. Some foodies may claim that it’s important to put your eggs into the water before it’s too hot to avoid breaking but while that may be true, it won’t get you an easy peel. Make sure that water is boiling! You might have an egg or two break on you when you put them in, but one lost egg is worth it for an easy peel!
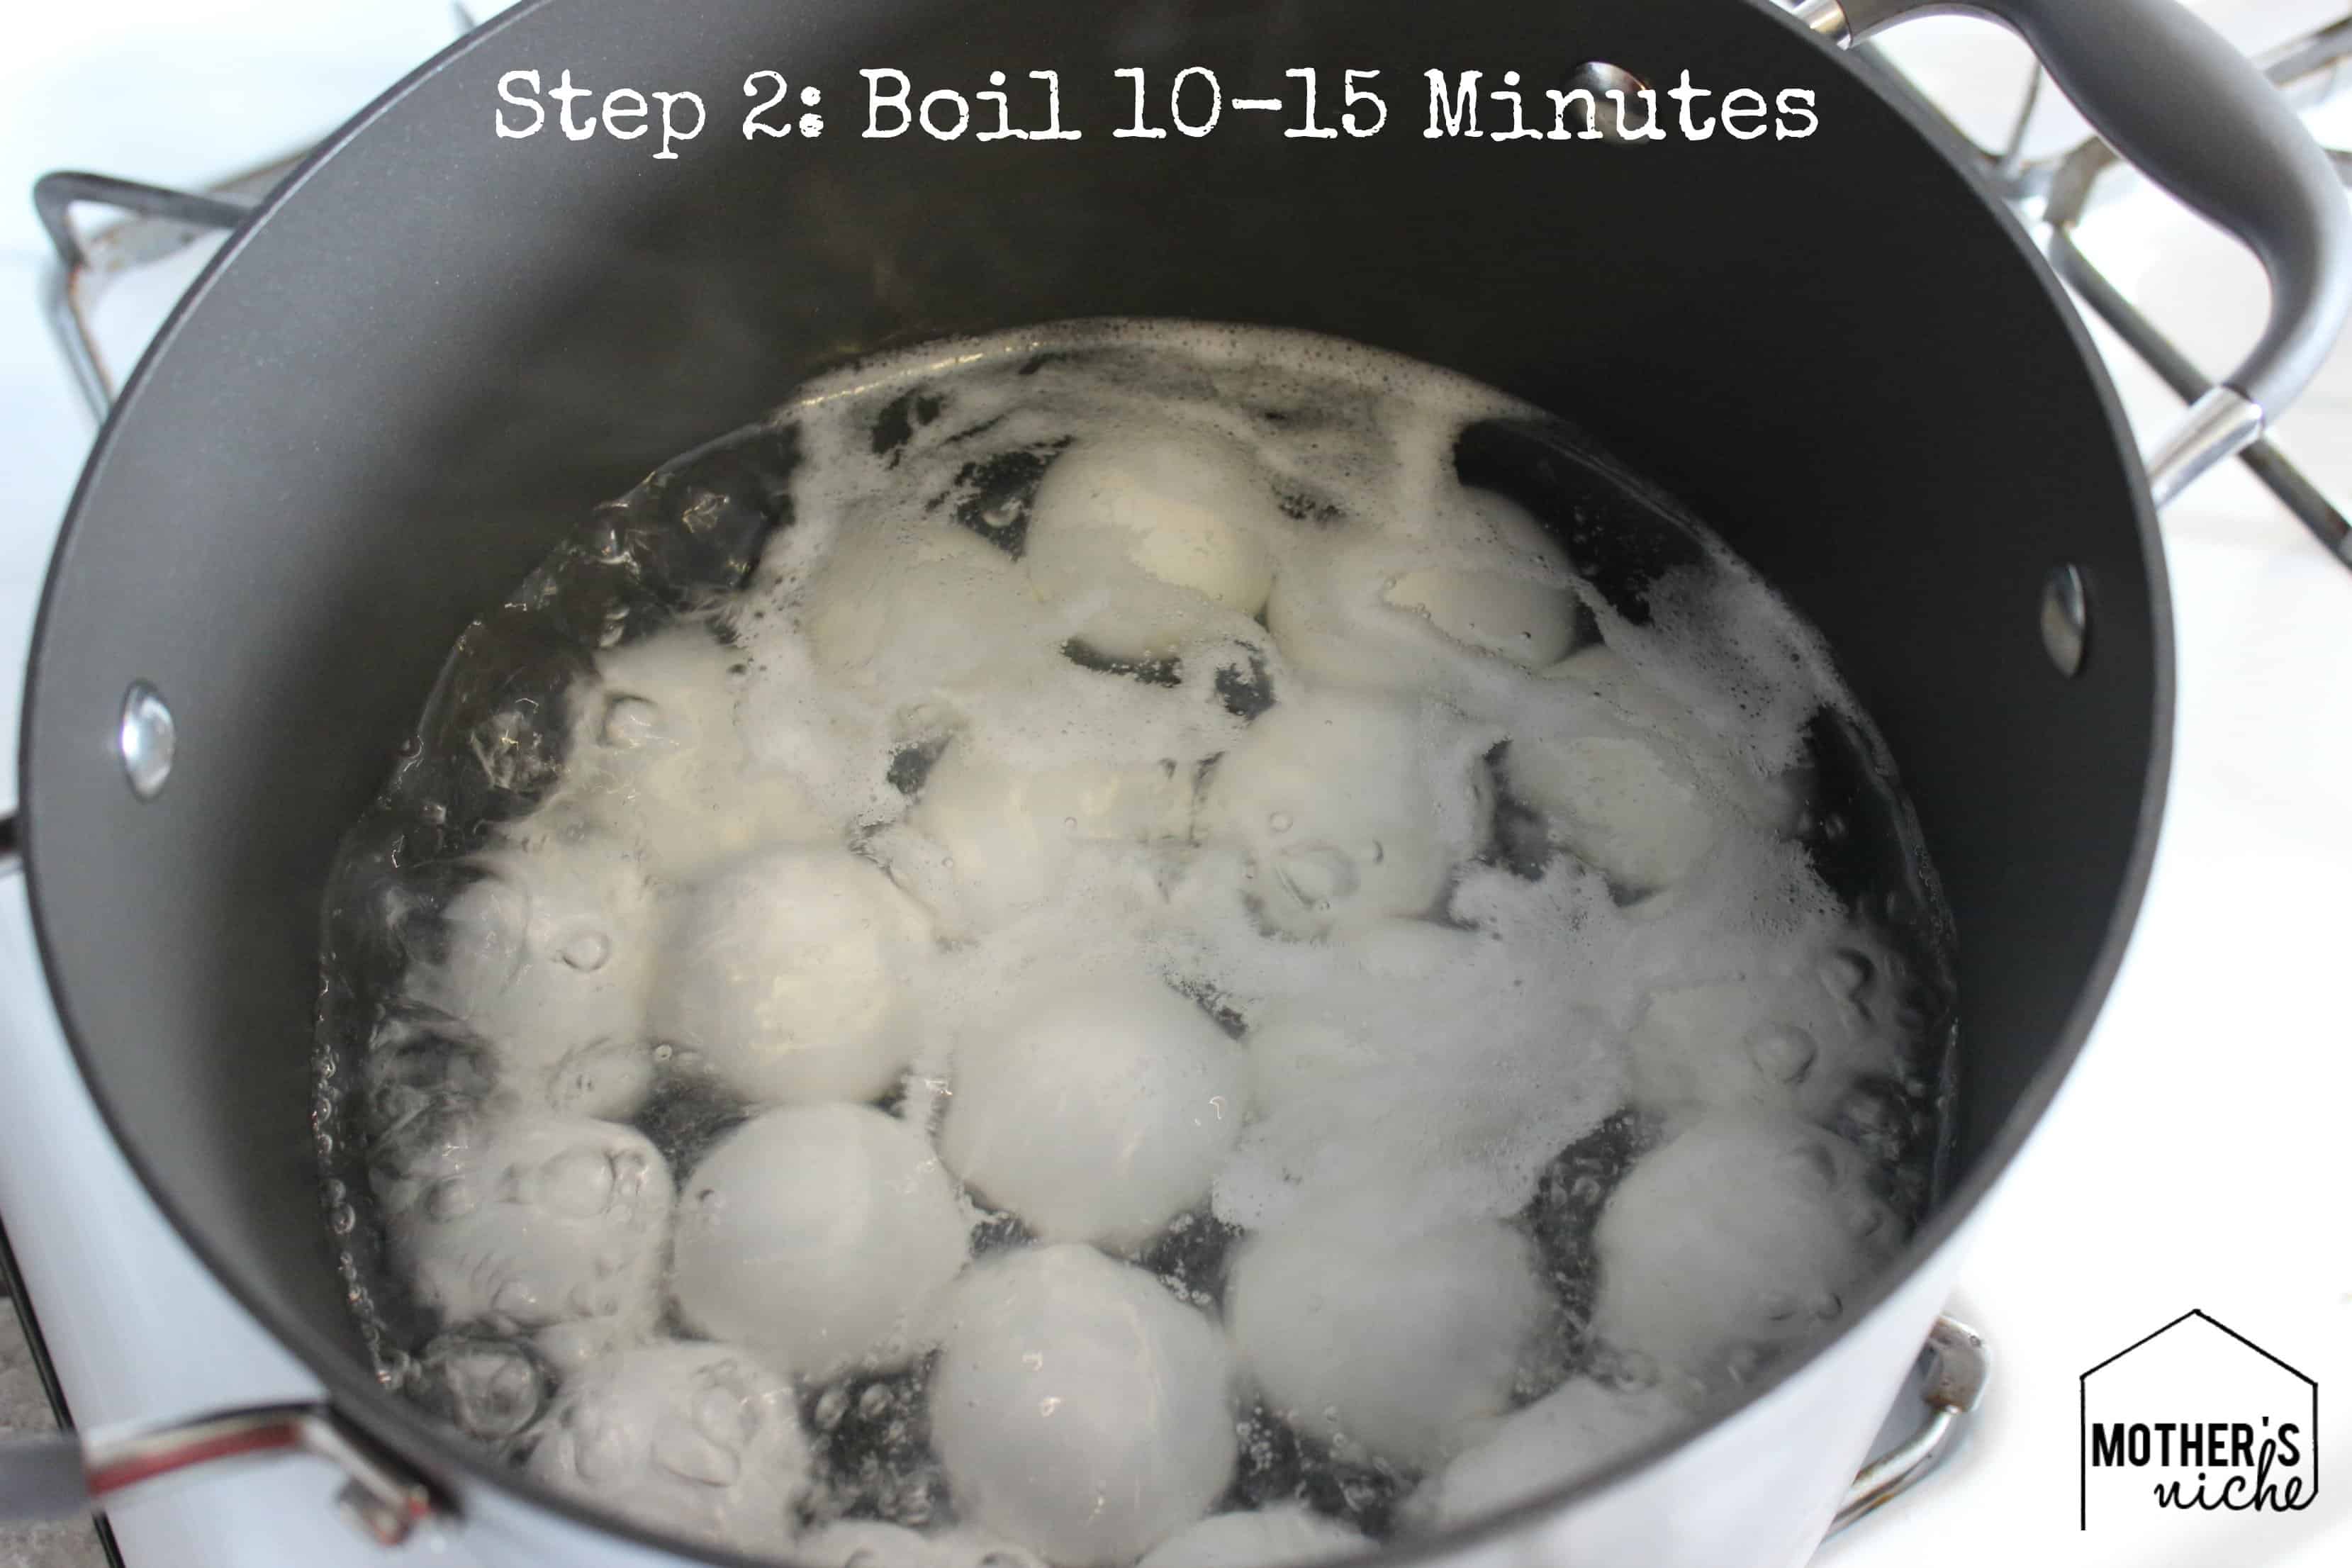
Step 2: This step, of course, is pretty standard. Boil your eggs until cooked through. This takes about 10-15 minutes.
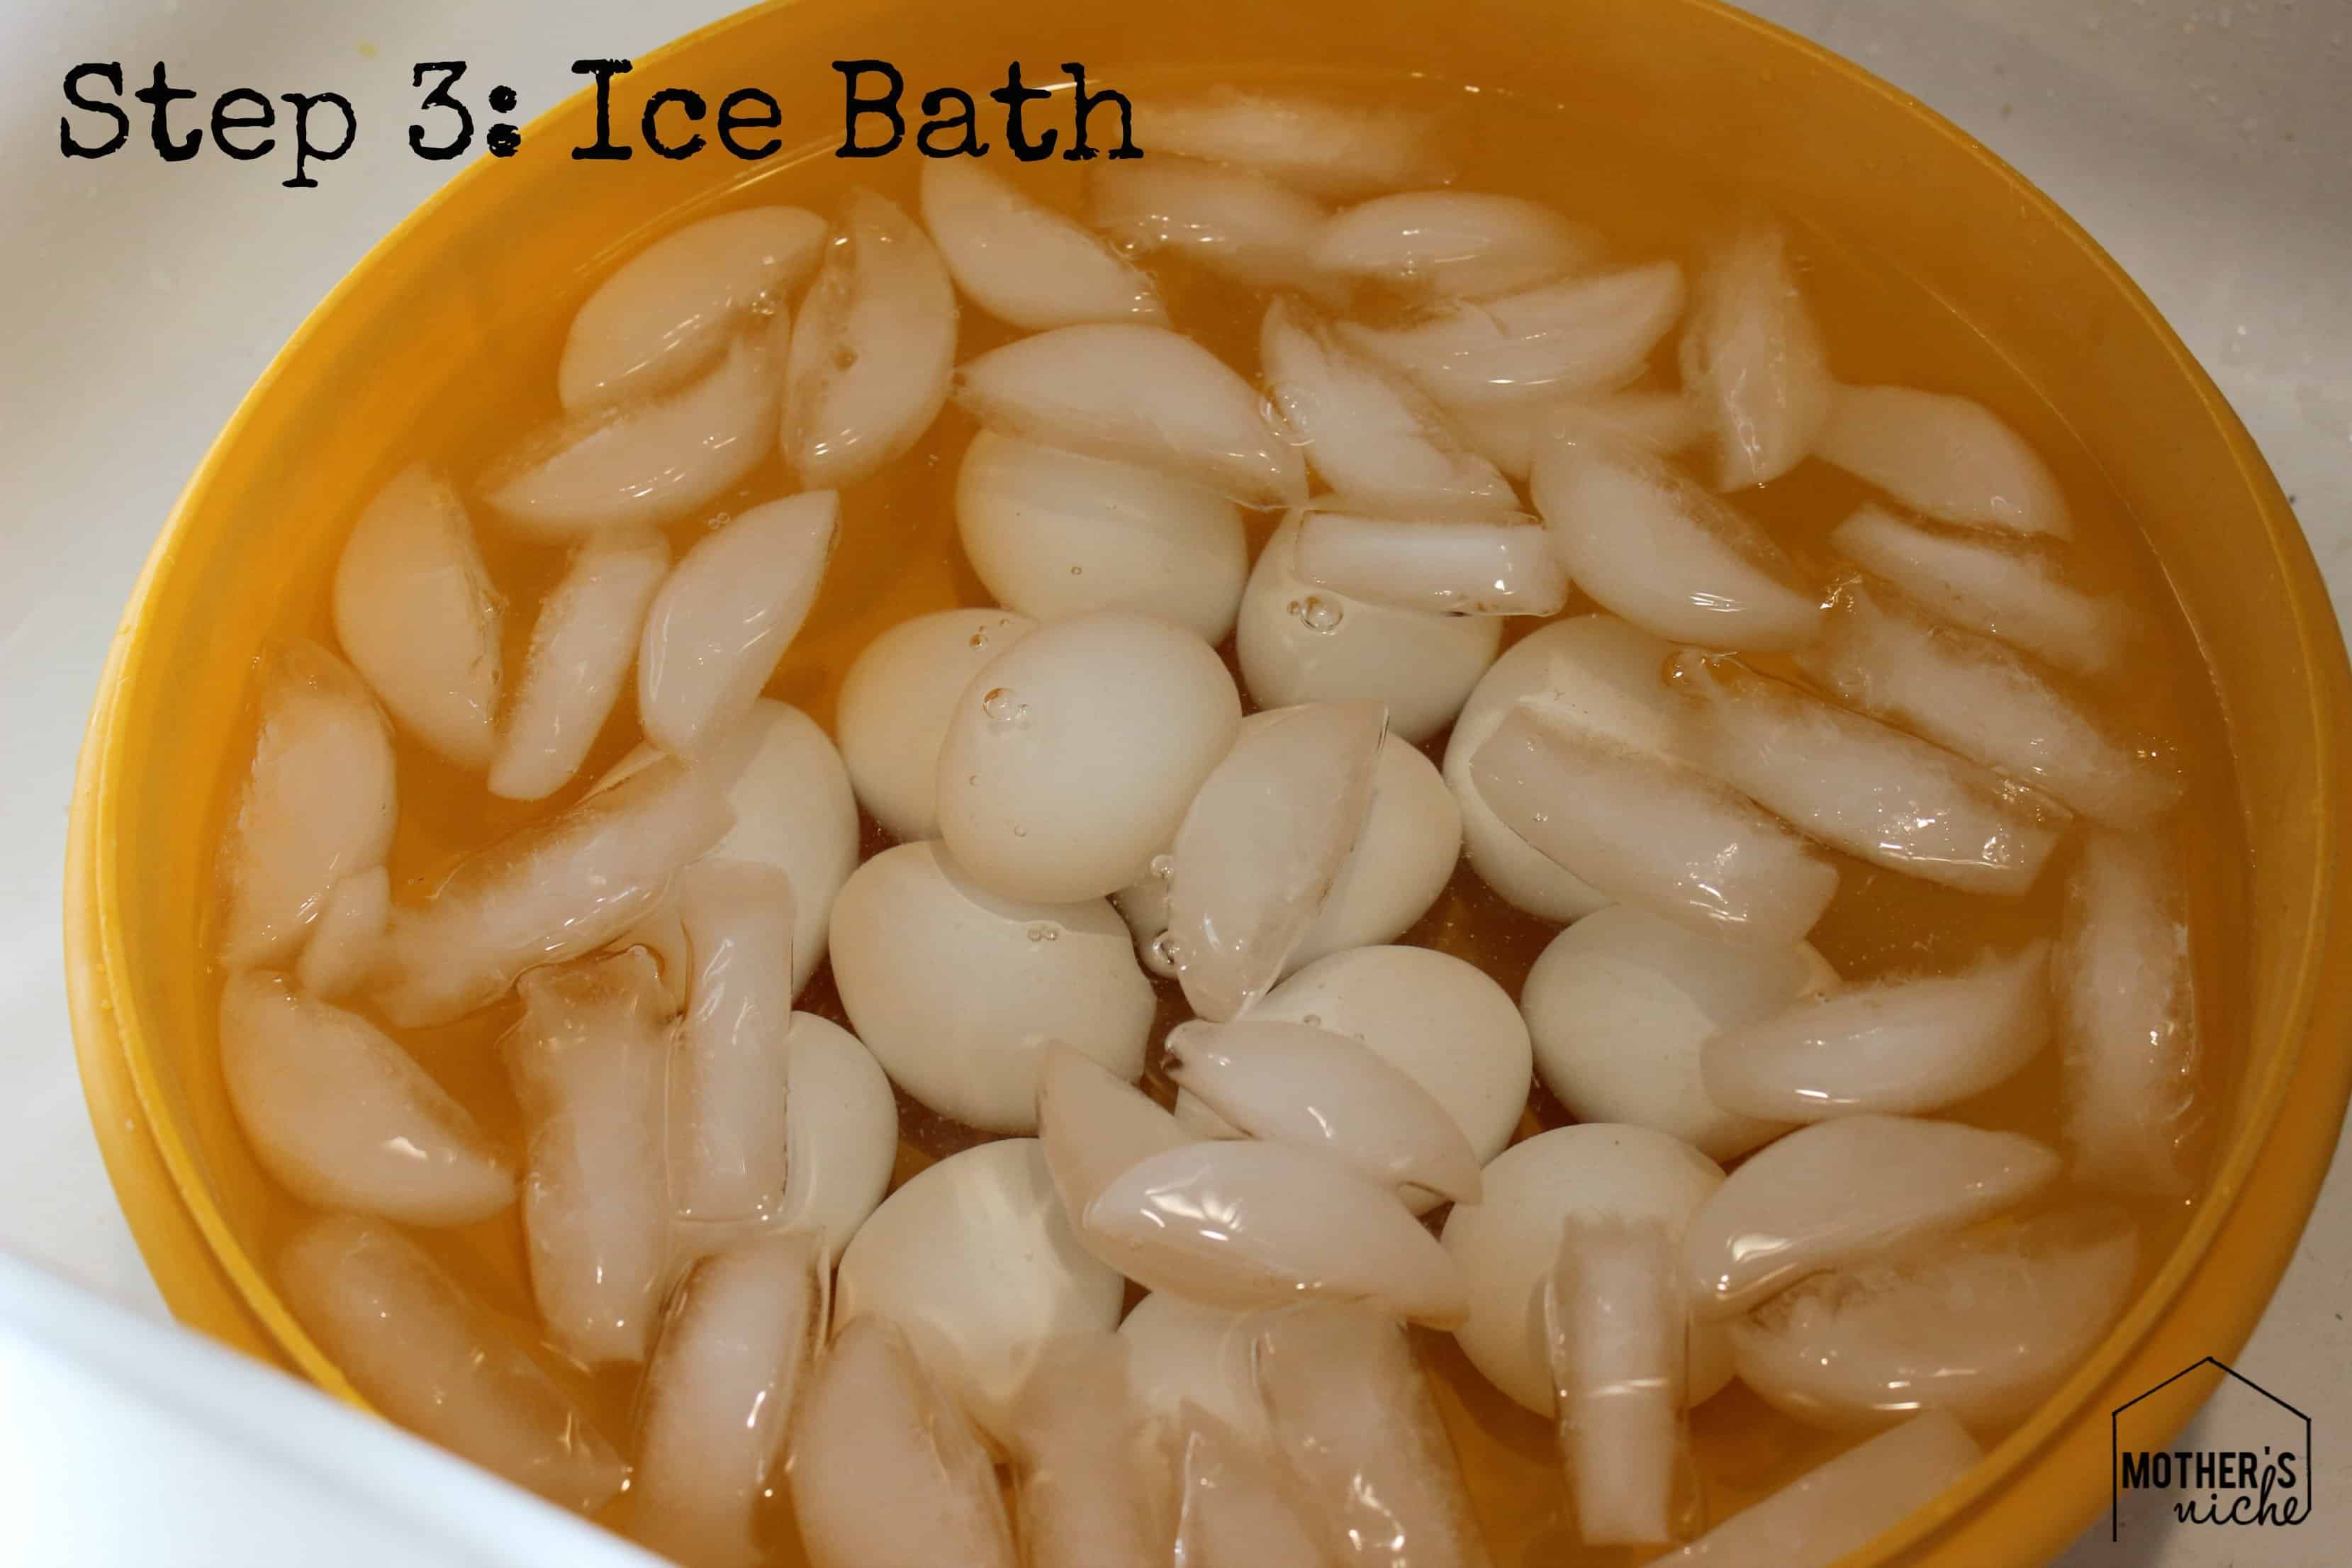
Step 3: After your eggs are done cooking, immediately transfer your eggs to an ice bath. This transfer from extreme hot to extreme cold (similar to what we did in step 1, only backwards) will help keep the shell from sticking to the egg. Allow your eggs to get cold before peeling.
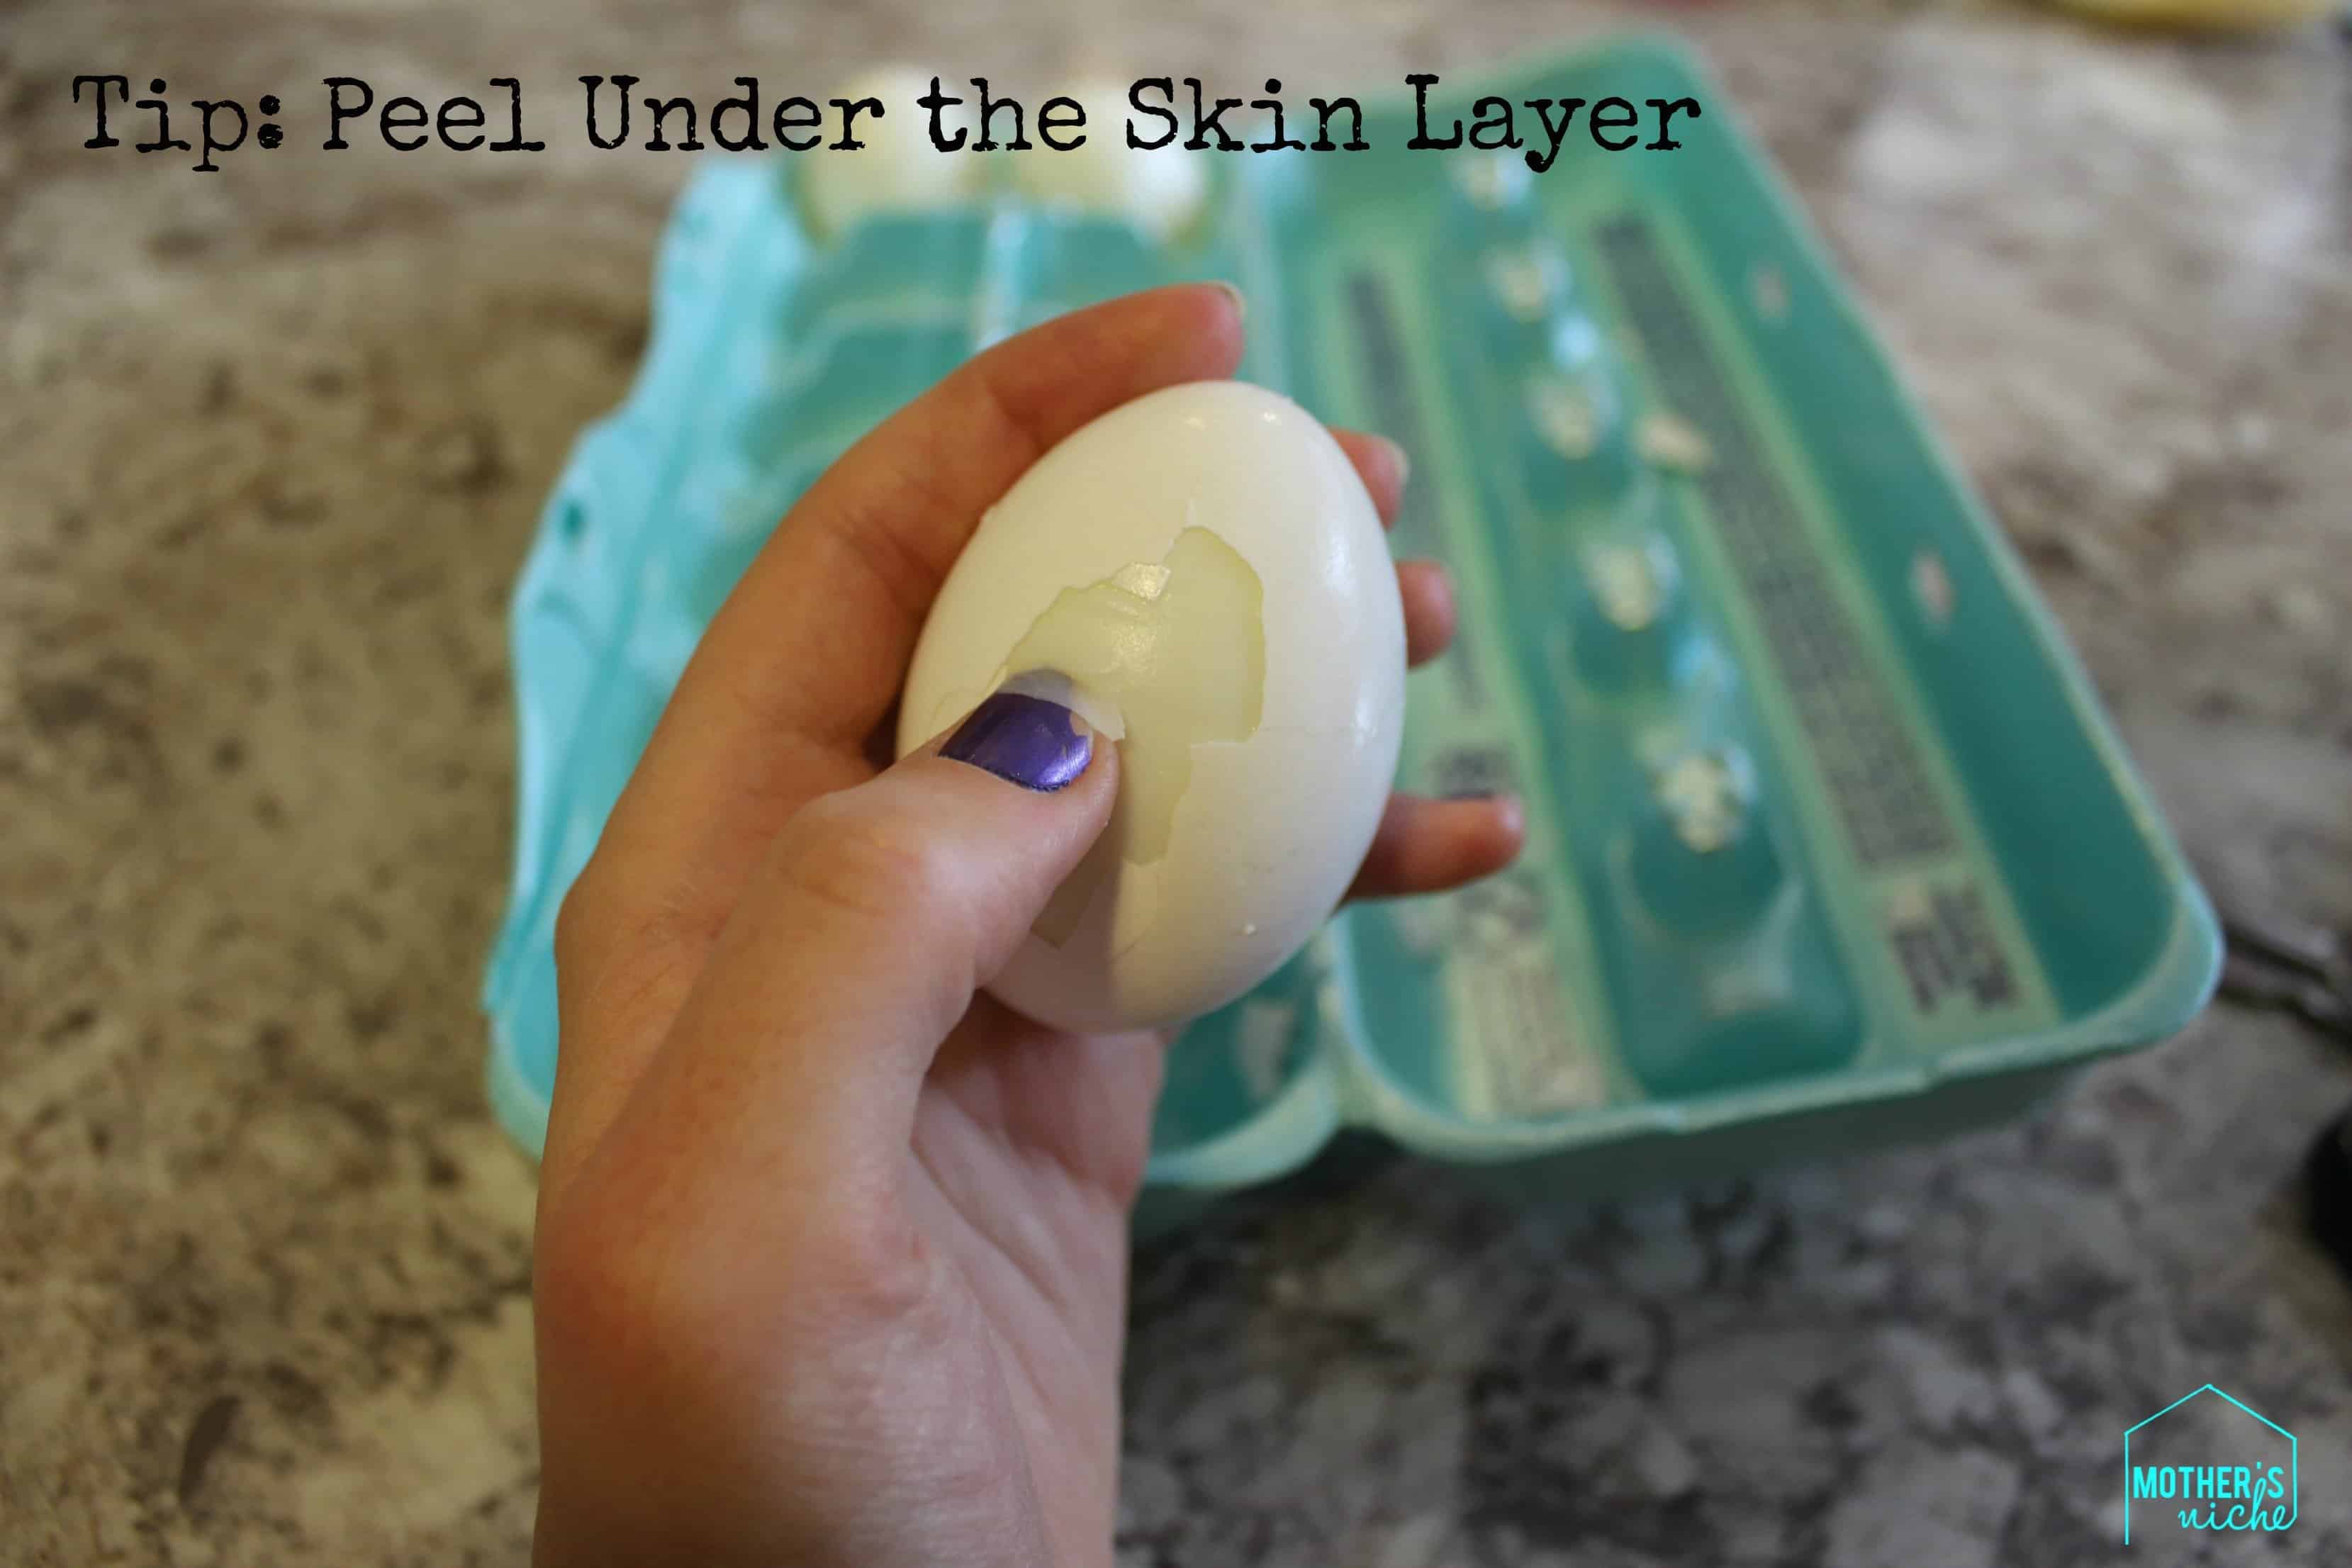
*Mother's Niche Pro-Peeling Tip: When peeling your eggs, it’s important to make sure you get under the inside sac that’s between the egg white and the shell. Pulling this layer off will also give you an easier peel.
- By making a small hole before boiling the egg, you can peel off the shell easily.
- Magnetic back base makes it attachable on the surface of refrigerator.
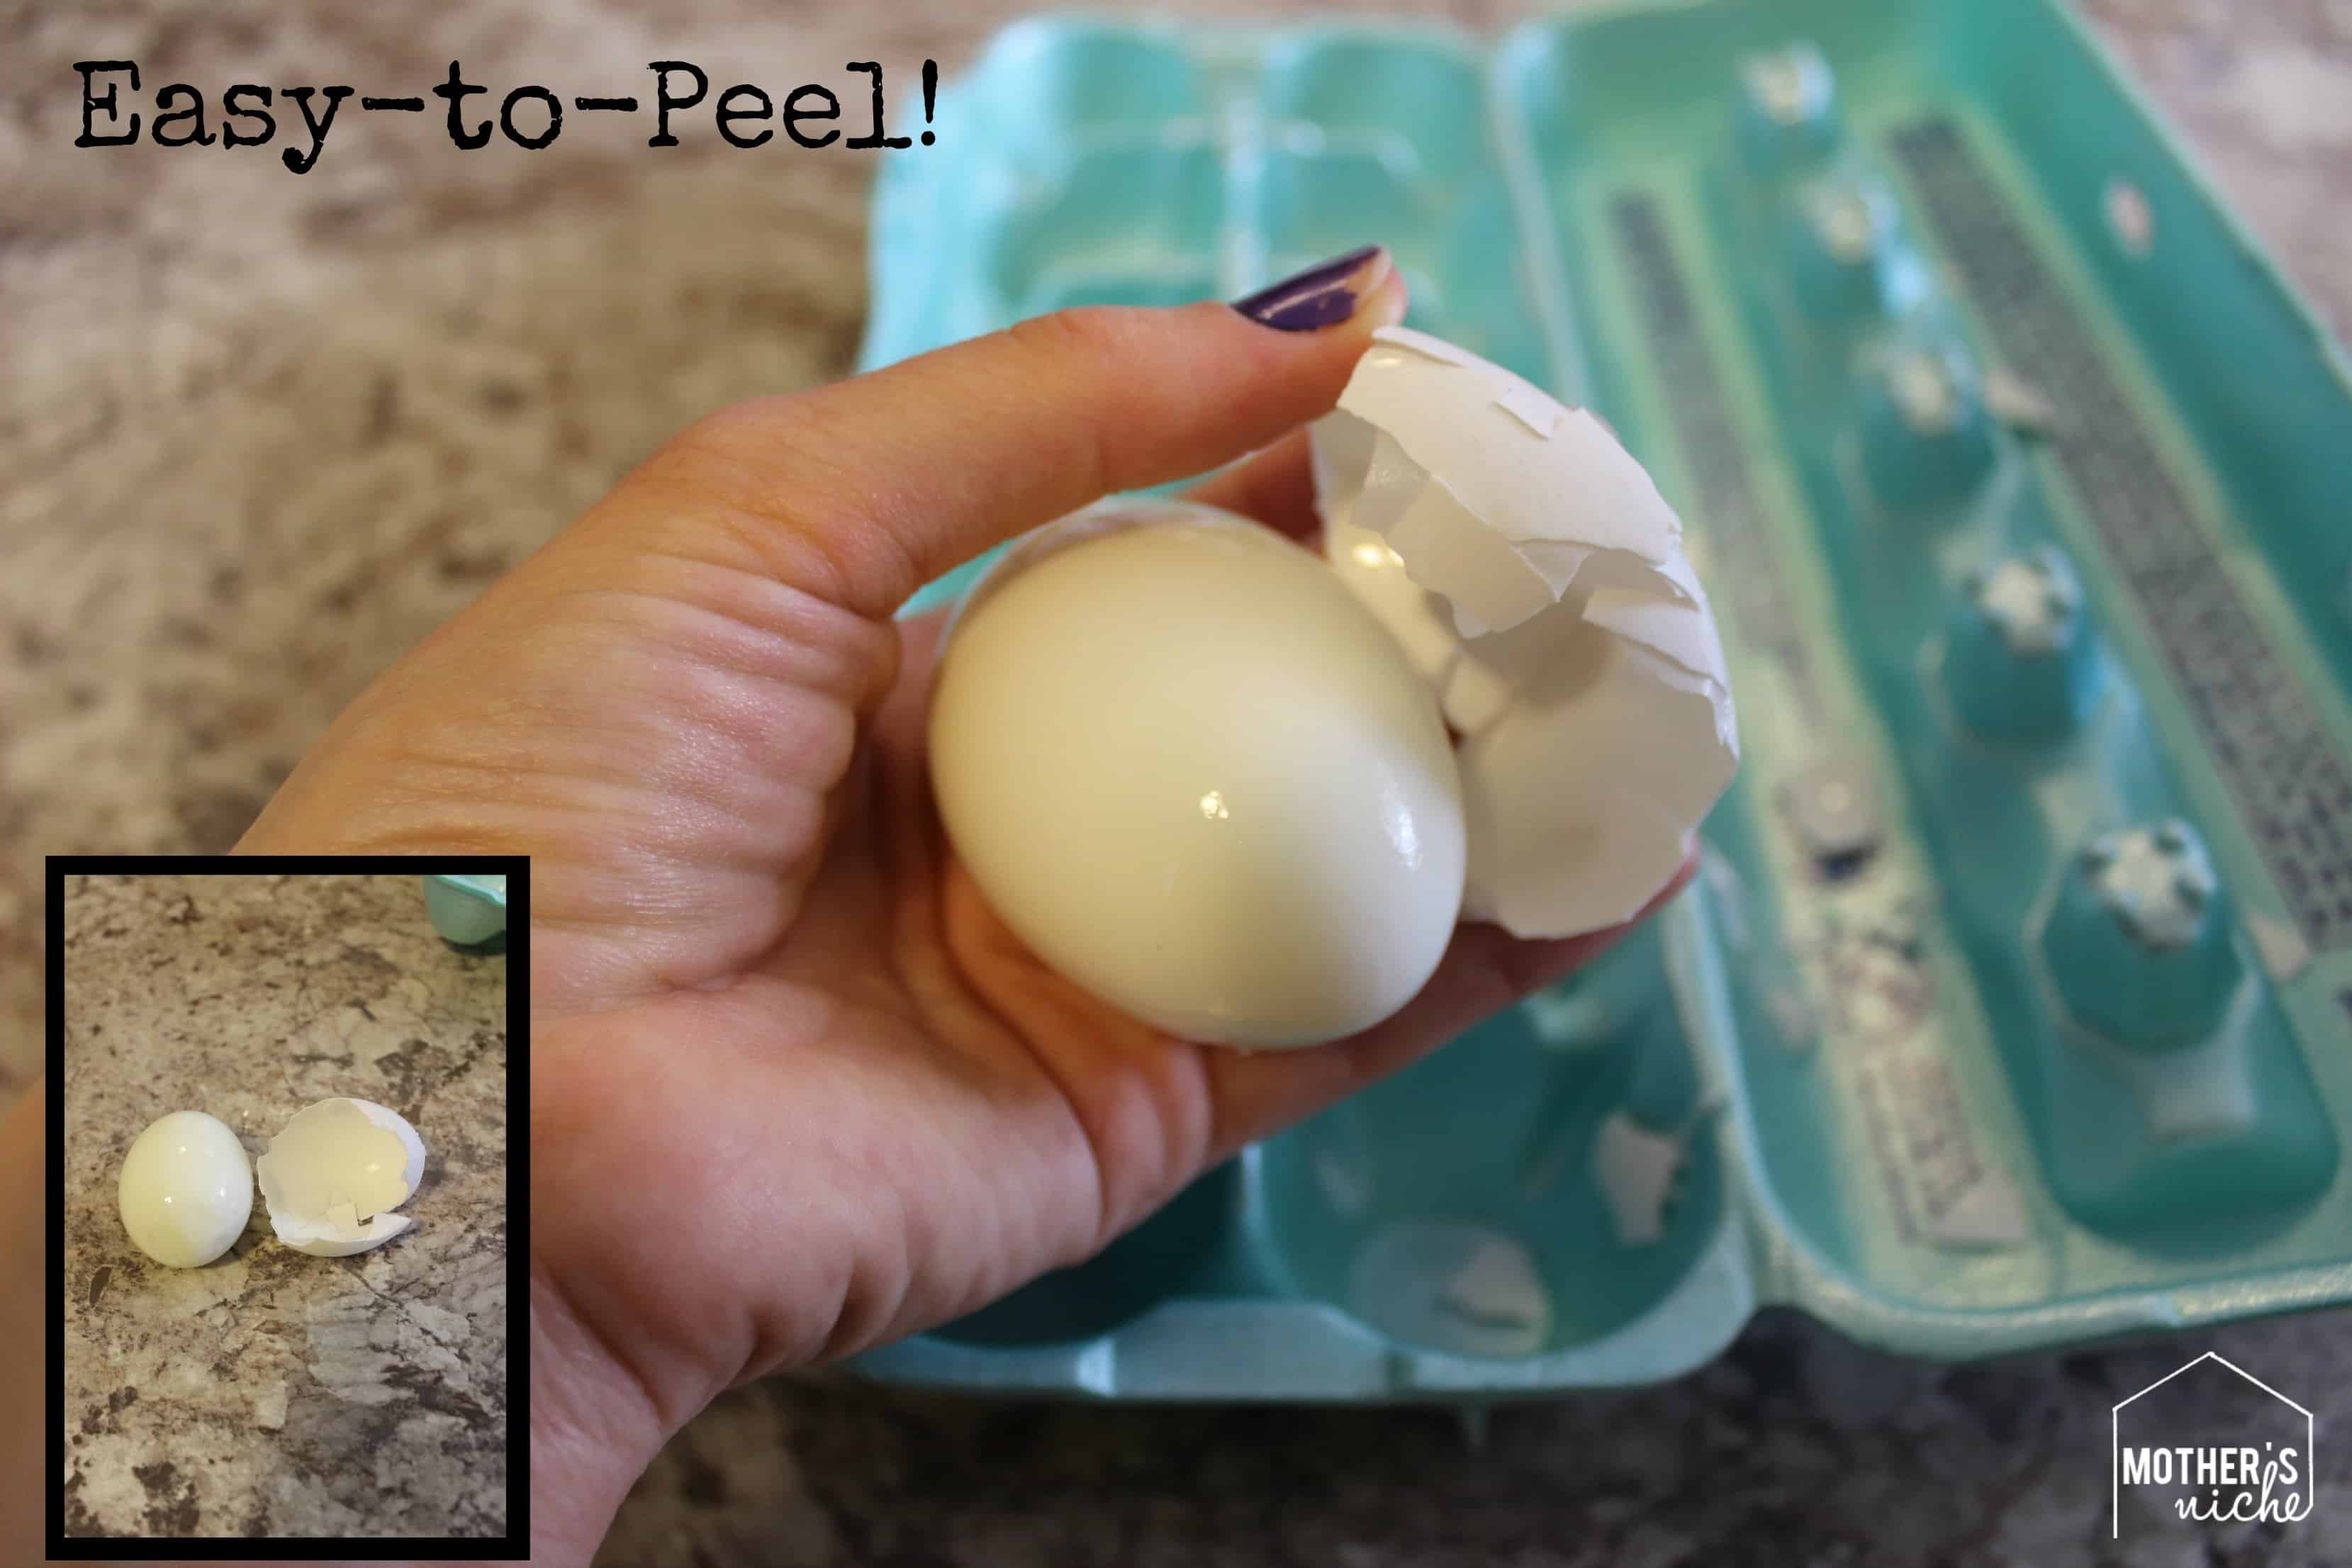
Finally, your eggs should peel nice and easy with the shells coming off in big chunks! Now you can finally enjoy hard-boiled eggs without the frustration of peeling them!
Find more great home hacks, ideas, tips and more in our “Organization” section.
The image featured at the top of this post is ©MomsWhoThink / MomsWhoThink.
