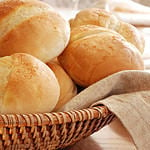
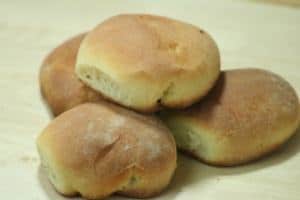
Dinner rolls are an easy side that can complement so many different dinners. There are few things quite like a warm, buttery roll to complete a meal! You can buy your own rolls from the store, but making them yourself is actually quite simple (and often cheaper in the long run).
With many families looking to save money these days, making your own dinner rolls is one way to do it. Plus, you'll be able to avoid the preservatives that can be found in so many store-bought bread varieties. While these preservatives are beneficial in some ways, it's understandable why some families may want to limit their exposure.
Leftover Rolls
Make sure you store these rolls in the fridge until you're ready to eat them. To warm, simply pop them in the microwave or oven. By storing these rolls in the fridge, you'll extend their shelf life. Remember that homemade rolls will not last as long as store-bought.
Even when stored in the fridge, rolls will eventually go bad. You'll likely wind up throwing them out for being stale long before they begin to spoil. Nonetheless, it's a good idea to be in the know about how to recognize spoiled rolls.
Most people are familiar with the distinct and visible blue mold that develops on bread that has gone bad. If you see any amount of this blue mold, or any other type of mold, on your rolls, throw them out immediately. Don't listen to the myth that you can still eat the rolls that are unaffected!
Mold spores can be present on your bread without being visible. If you consume these, they can make you sick. If your bread has a strange taste to it, it also might be time to get rid of it. Generally, mold will be the telltale sign that your rolls have spoiled.
Print
Grandma Phillips's Rolls
Ingredients
Yeast Sponge
2 (1/4 oz) packages quick rising yeast
1 1/2 cups water, warmed to 115°F
1 Tablespoon sugar
Dough
5 cups flour
3 Tablespoons sugar
1 1/2 teaspoons salt
2 teaspoons finely chopped fresh rosemary leaves (optional)
1/2 cup solid shortening
Milk, for brushing
Instructions
1. To make the sponge: Dissolve yeast in water. Add sugar and set in a warm place for 10 minutes to proof.
2. To make the dough: Mix flour, sugar, salt, rosemary, if using, and shortening in the bowl of a standing mixer fitted with the paddle attachment. Add proofed yeast sponge and beat to combine. Change to dough hook and knead for 3 to 4 minutes, or until dough comes together and is smooth.
3. Coat a medium bowl with vegetable spray or butter. Place dough in greased bowl. Coat a piece of plastic wrap with vegetable spray ( to prevent sticking) and place it loosely over dough. Put dough in a warm place to rise until double in size, 30 minutes to 1 hour.
4. Line two 14 inch by 16 inch baking sheets with foil, shiny side up, and coat with vegetable spray, or use silicone liners. Punch down dough and divide into 2 dozen equal pieces. Roll each piece into a ball on a lightly floured surface and place balls on prepared baking pans. Let rolls rise until double in size.
5. Place the oven rack in the middle position. Preheat the oven to 425 degrees F.
6. Brush tops of rolls with milk. Bake 15 to 20 minutes, or until rolls are golden brown. Let cool on metal racks. Store wrapped in wax paper at room temperature.

