Mint is a low-maintenance, versatile plant that can be used in a variety of household products, culinary dishes, and drinks. Instead of spending money on fresh mint leaves, you can get the kids involved and teach them the steps to grow mint indoors. It’s super easy to grow, harvest, and store, and you don’t need a lot of space either.
There are various ways to grow mint indoors, such as using an LED grow light or hydroponics; however, the easiest and most affordable way is to use a windowsill. With approximately 25 different mint species, it can be difficult to choose a favorite one. Popular choices include spearmint, wild mint, apple mint, and chocolate mint.
Like basil, mint has been used traditionally to relieve digestive problems, nausea, as well as travel, and morning sickness. This fragrance is often used in lotions, perfumes, and shampoos. Furthermore, you can find the mint flavor in chocolate, ice cream, toothpaste, and chewing gum. Let’s take a look at these simple steps to grow mint indoors.
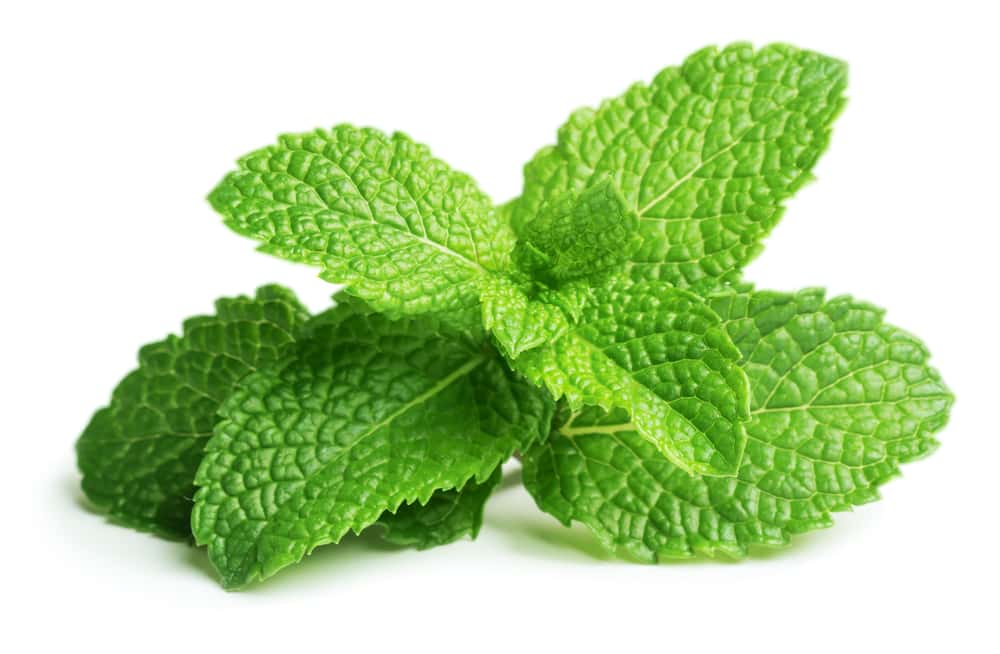
1. Choose Your Mint Seed or Seedling

©Chizhevskaya Ekaterina/Shutterstock.com
Mint can be difficult to grow from seed. Instead, choose your desired strain and purchase a mint seedling from the local nursery or supermarket. Try to choose a seedling that is already 3-4 inches tall. Additionally, you can trim a 4-inch sprig from an existing plant approximately 0.5 inches above a junction. Then, put the trimming in a glass of water. After a week, it will have small white roots appear. Allow the roots to grow for another 3–5 days. To keep the trim healthy, change the water within 4-5 days.
On the other hand, if you know of someone with an outdoor mint plant, you can use a “runner.” Mint spreads quickly, and “runners” grow away from the mint plant and have their own rooted long stems. You can carefully remove one from the soil and transplant it into a new pot.
Keep in mind that some mint plants are toxic, such as Mentha pulegium. Be sure to choose the correct mint species.
2. Set up the Container

©anabg/Shutterstock.com
Mint plants don’t need a lot of space, but the more space they have, the farther they spread. As long as your pot is 10-12 inches in diameter, though, your sweet-smelling plant should thrive. The container can be made with any material; however, plastic may work better, as long as there are drainage holes at the bottom. Mint plants don’t like ‘soggy feet’.
Mint plants need high-quality and nutritious soil. You can buy potting soil in your nearest garden store, and it should work just fine. They also like slightly acidic soil, with pH levels between 6.5 and 7.0. Additionally, to increase pH levels, add wood ash or pelletized lime. To lower pH levels, add compost, mulch, or manure. However, most indoor mint plants do not require these.
After you fill your container with soil, you’re ready to plant your mint. Don’t pack the soil tight; mint prefers soil that can drain easily.
If you are using seeds, I recommend using tweezers to pinch two to three seeds because they are very small. Make a tiny hole in the center of the soil and insert the seeds. They should only be about a fourth of an inch or less deep. Any deeper, and it can take longer for the seeds to germinate. Sometimes, the seeds don’t germinate at all. So, to increase your chances, plant more than two seeds in a container, but space them out by about 2 to 3 inches.
Next, you want to water your seeding right away. One plant needs approximately 6–8 fluid ounces of water.
3. Pick a Sunny Spot

©barchanet/Shutterstock.com
Mint plants enjoy indirect sunlight, so it’s best to choose a spot that gets sun in the morning and partial shade in the afternoon. For even growth, turn the plant every 3-4 days. To avoid damage to the windowsill and dripping water, you can always sit your mint plant in a water collecting tray. However, this comes with a risk, as moisture can attract pests and lead to root rot.
4. Watering Your Mint Plant
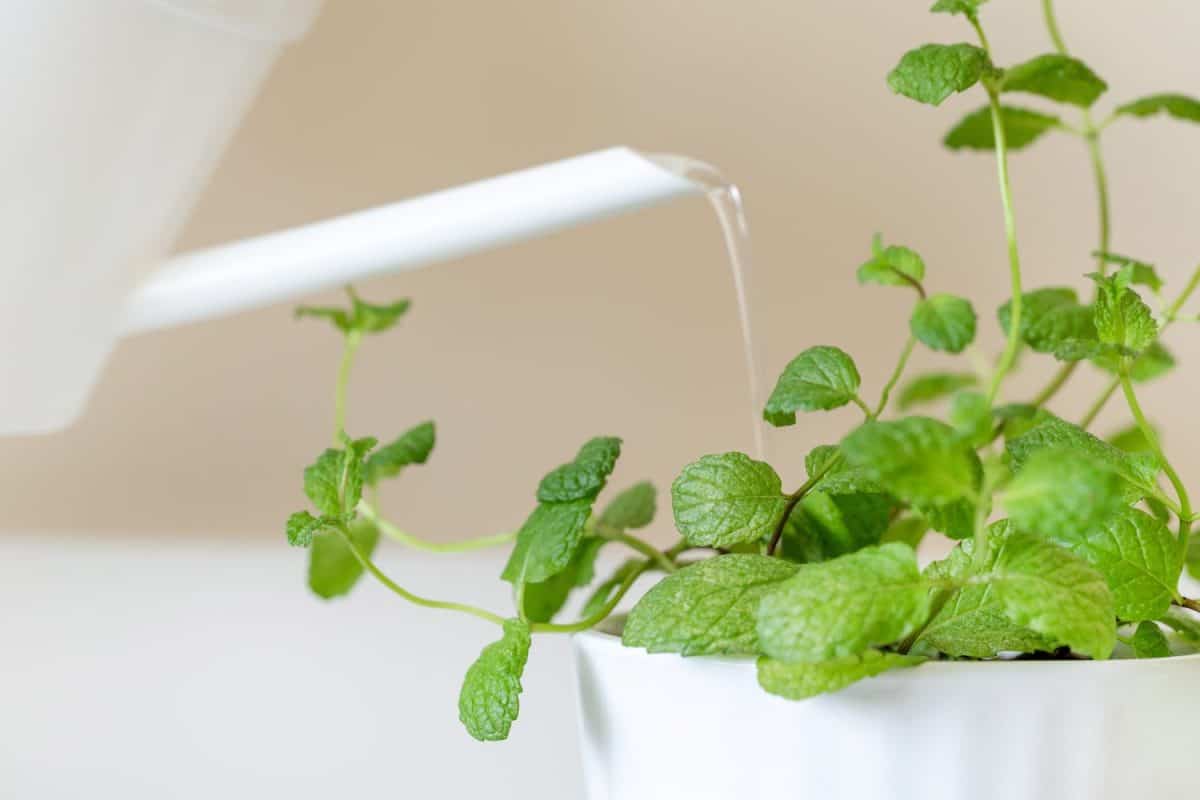
©Vinnikava Viktoryia/Shutterstock.com
Mint plants require water every 2-3 days, around 1-2 cups. Use your finger to ensure the soil is not too dry; additionally, you can consider misting your mint plant between waters. Do not overwater your mint plant, as this can lead to mildew, root rot, and other diseases.
One of the biggest problems with growing any plant indoors is that there isn’t always enough airflow. This can attract pests like aphids and gnats. Too much moisture and not enough airflow also cause fungus and mold, which look like white powder or fuzziness on the top level of the soil. If you want to avoid these problems, you can use a dehumidifier or a small fan for air circulation.
5. Fertilize
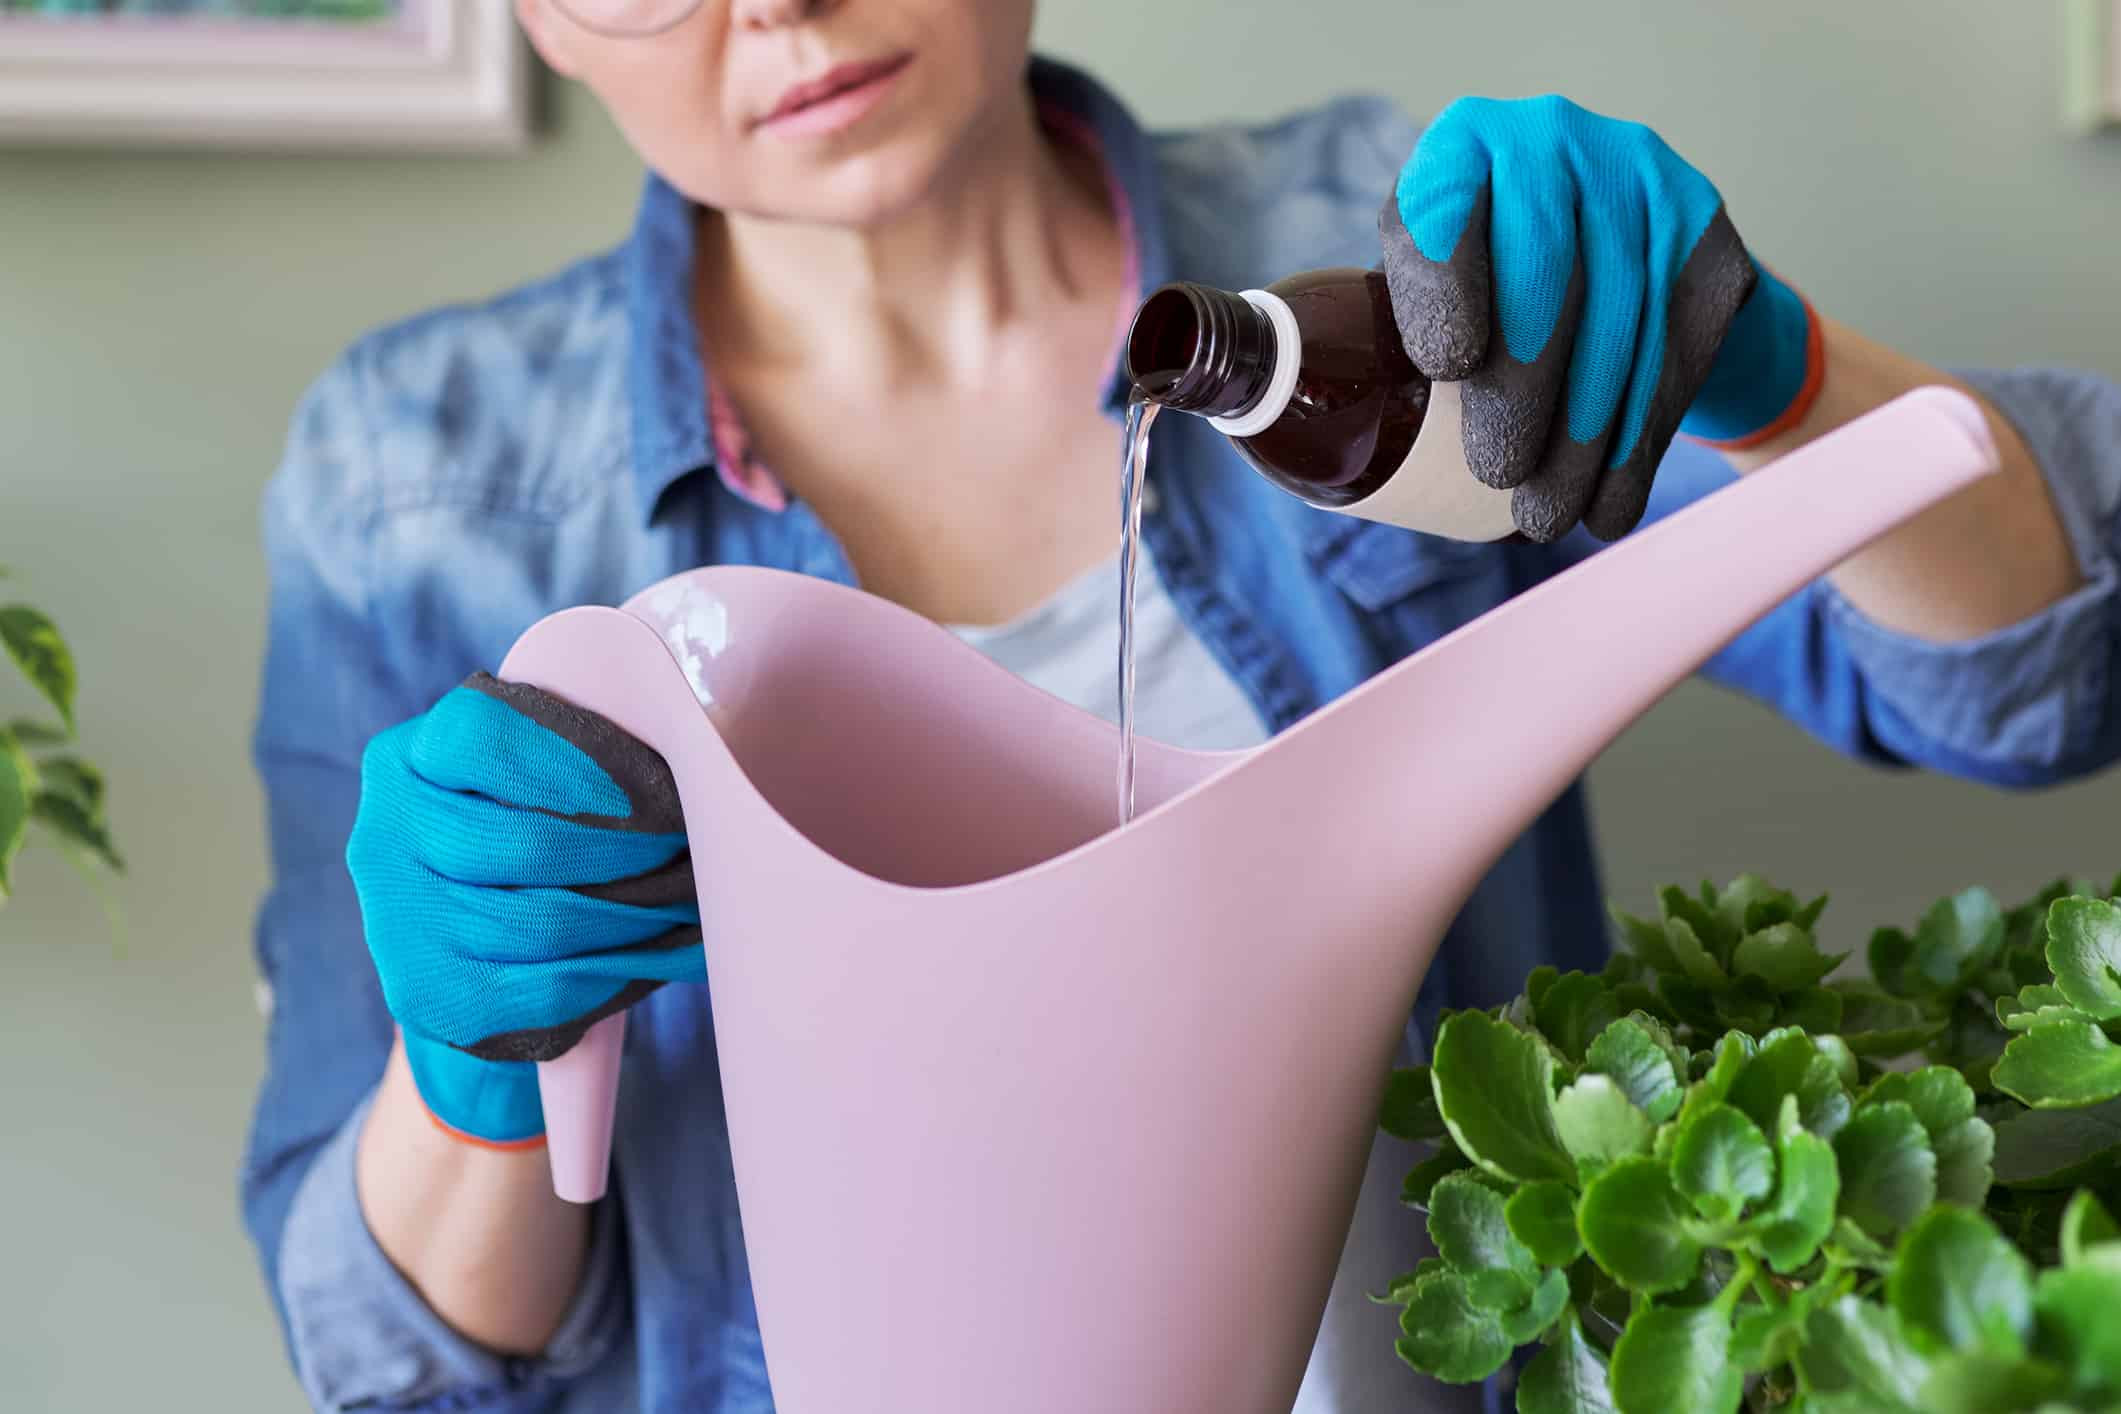
©iStock.com/Valeriy_G
Mint plants do not usually need fertilizer; however, when used occasionally, it can improve growth. Opt for a water-soluble, time-release fertilizer. Remember not to use too much, as the plant may become stressed.
6. Pruning, Harvesting, and Storing Your Mint

©Nataliya Arzamasova/Shutterstock.com
To stop the plant from seeding, you will need to take off any flower buds with a pair of scissors before they open. This prevents the plant from pushing all of its energy towards the seeds. Additionally, any yellowing leaves or leaves that look like they are dying should also be trimmed off. Allow your plant 2–6 weeks to fully grow before you begin harvesting leaves as you need them. To prevent proper growth, avoid harvesting more than ⅓ at a time.
Finally, to dry mint, hang the stems upside down, then store them in a clean, airtight container. Additionally, you can make a mint pesto. Simply blend the mint leaves in a blender with some olive oil, parsley, almonds, lemon juice, lemon zest, garlic, salt, pepper, and a dash of water. Store it in a mason jar in the fridge for up to 5 days or in ice cubes in the freezer for up to 12 months.
The image featured at the top of this post is ©Valentina Proskurina/Shutterstock.com.